***

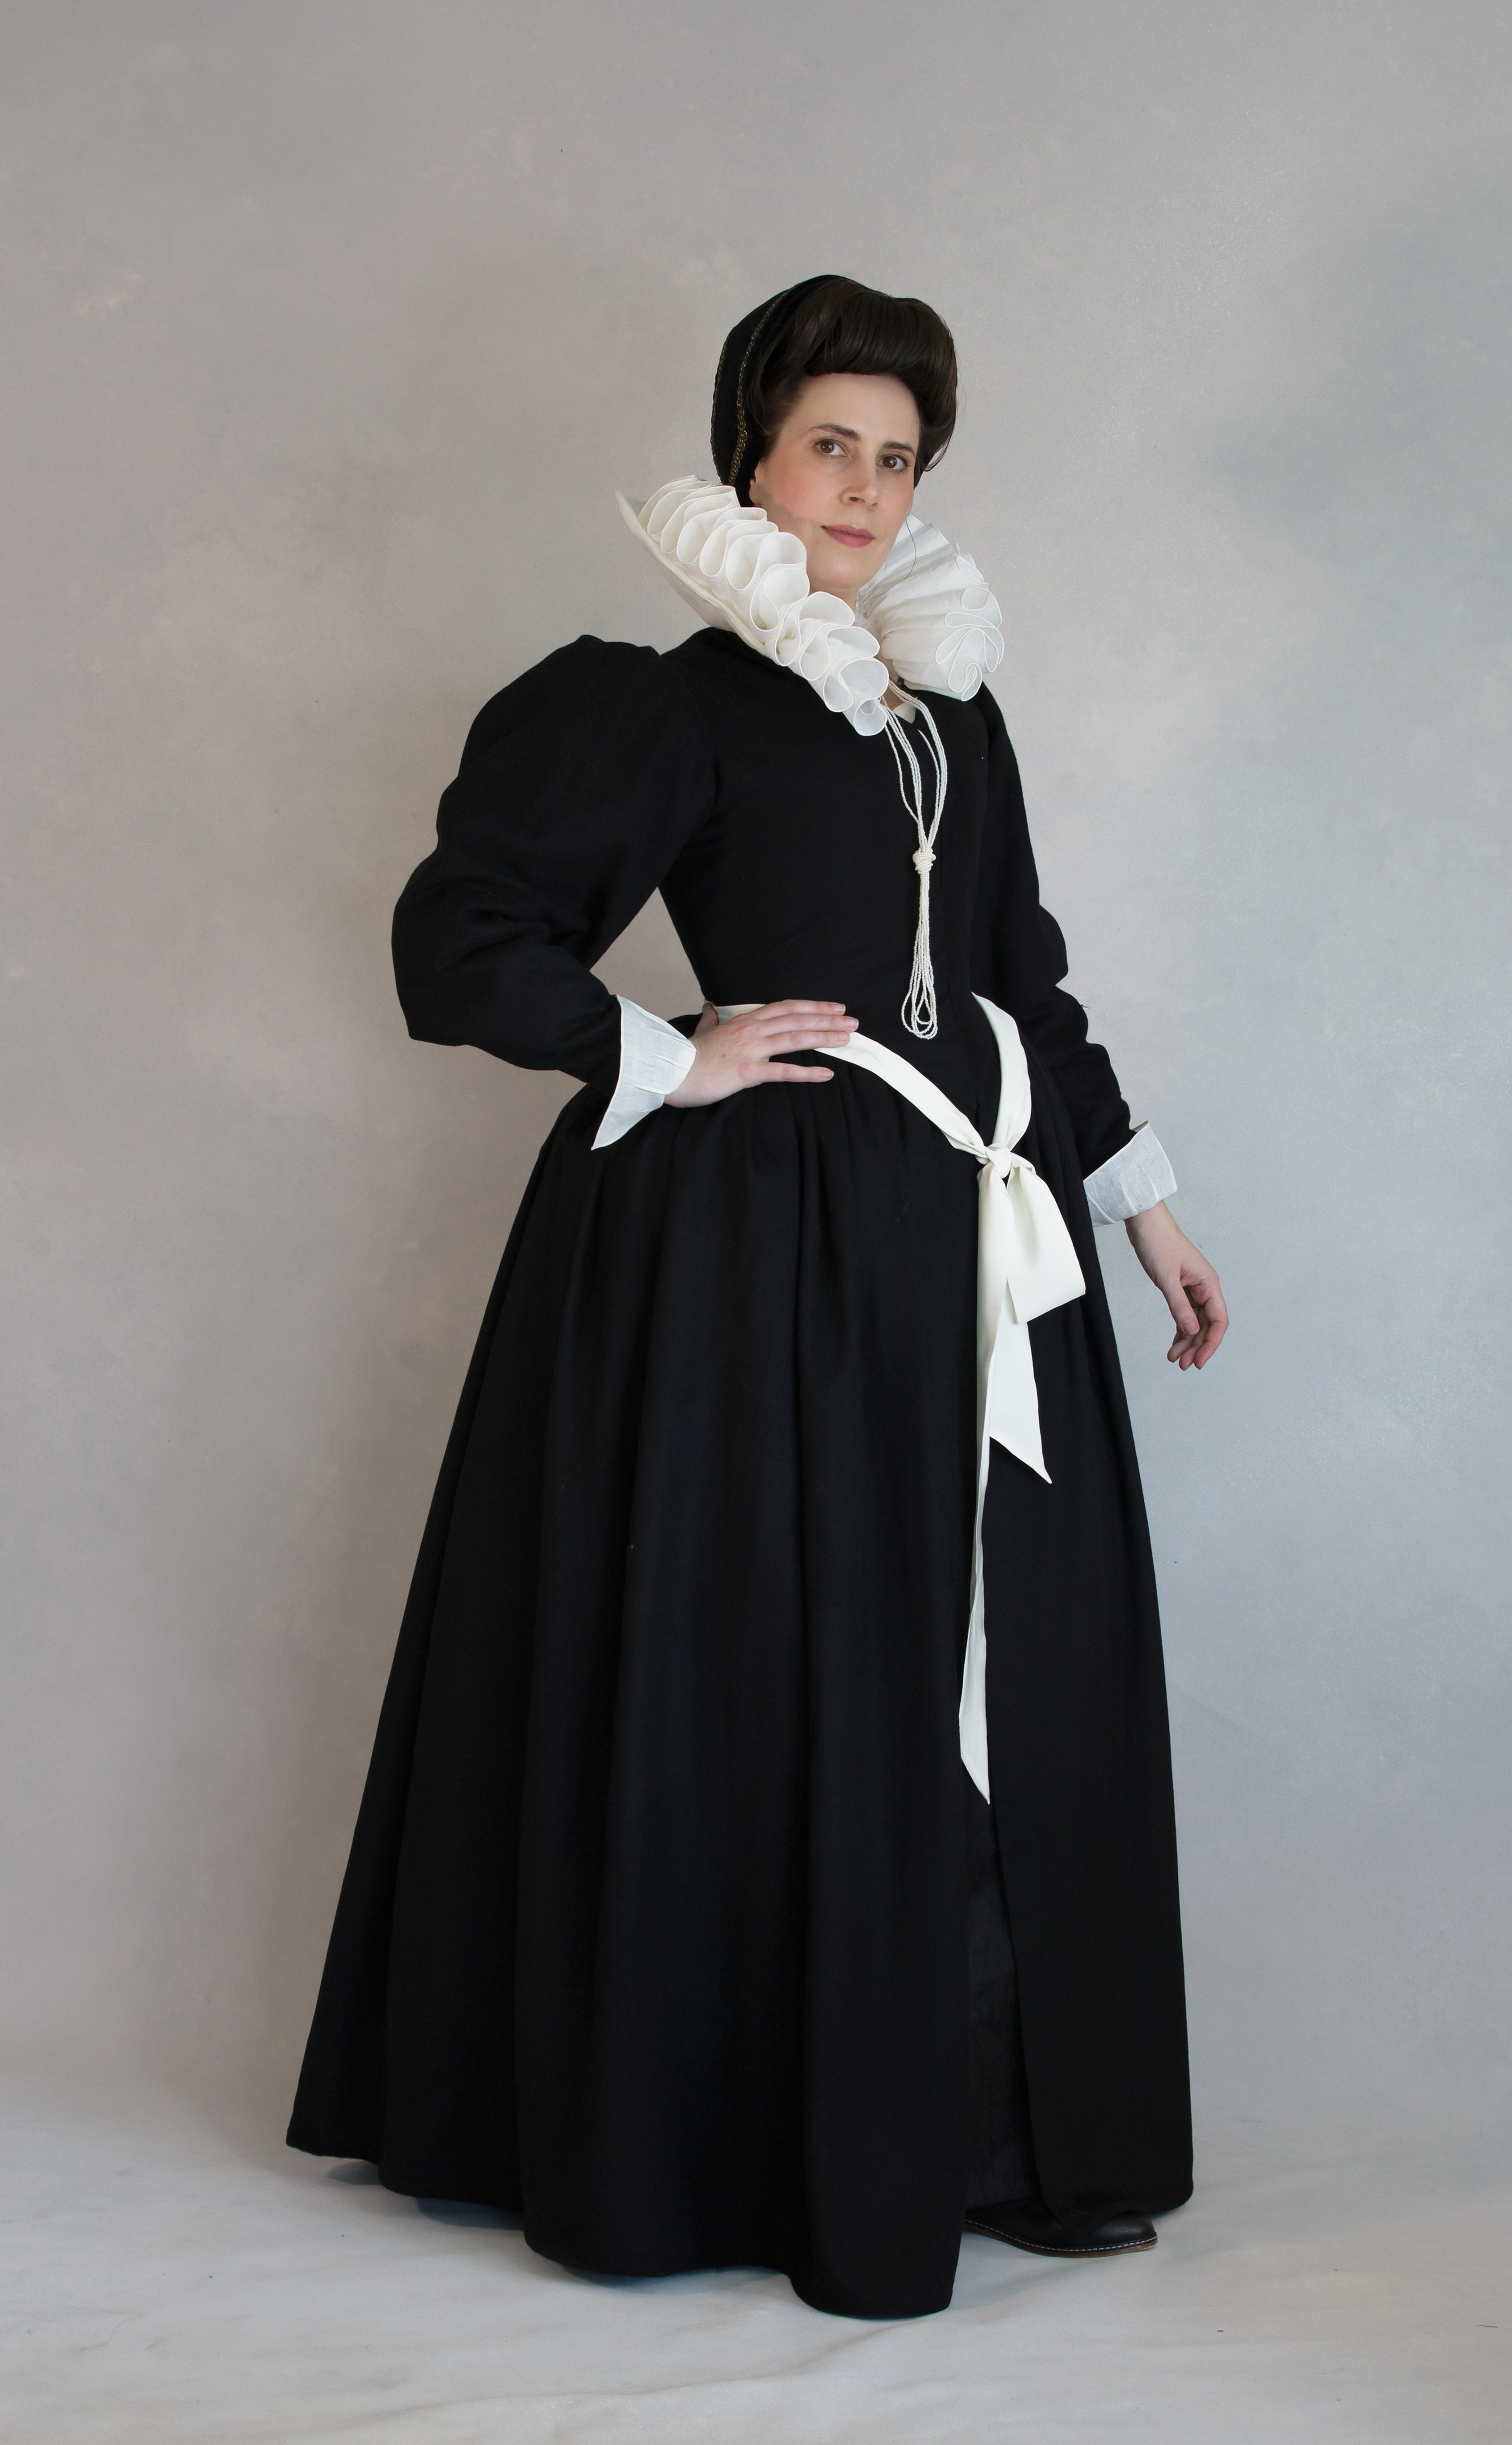
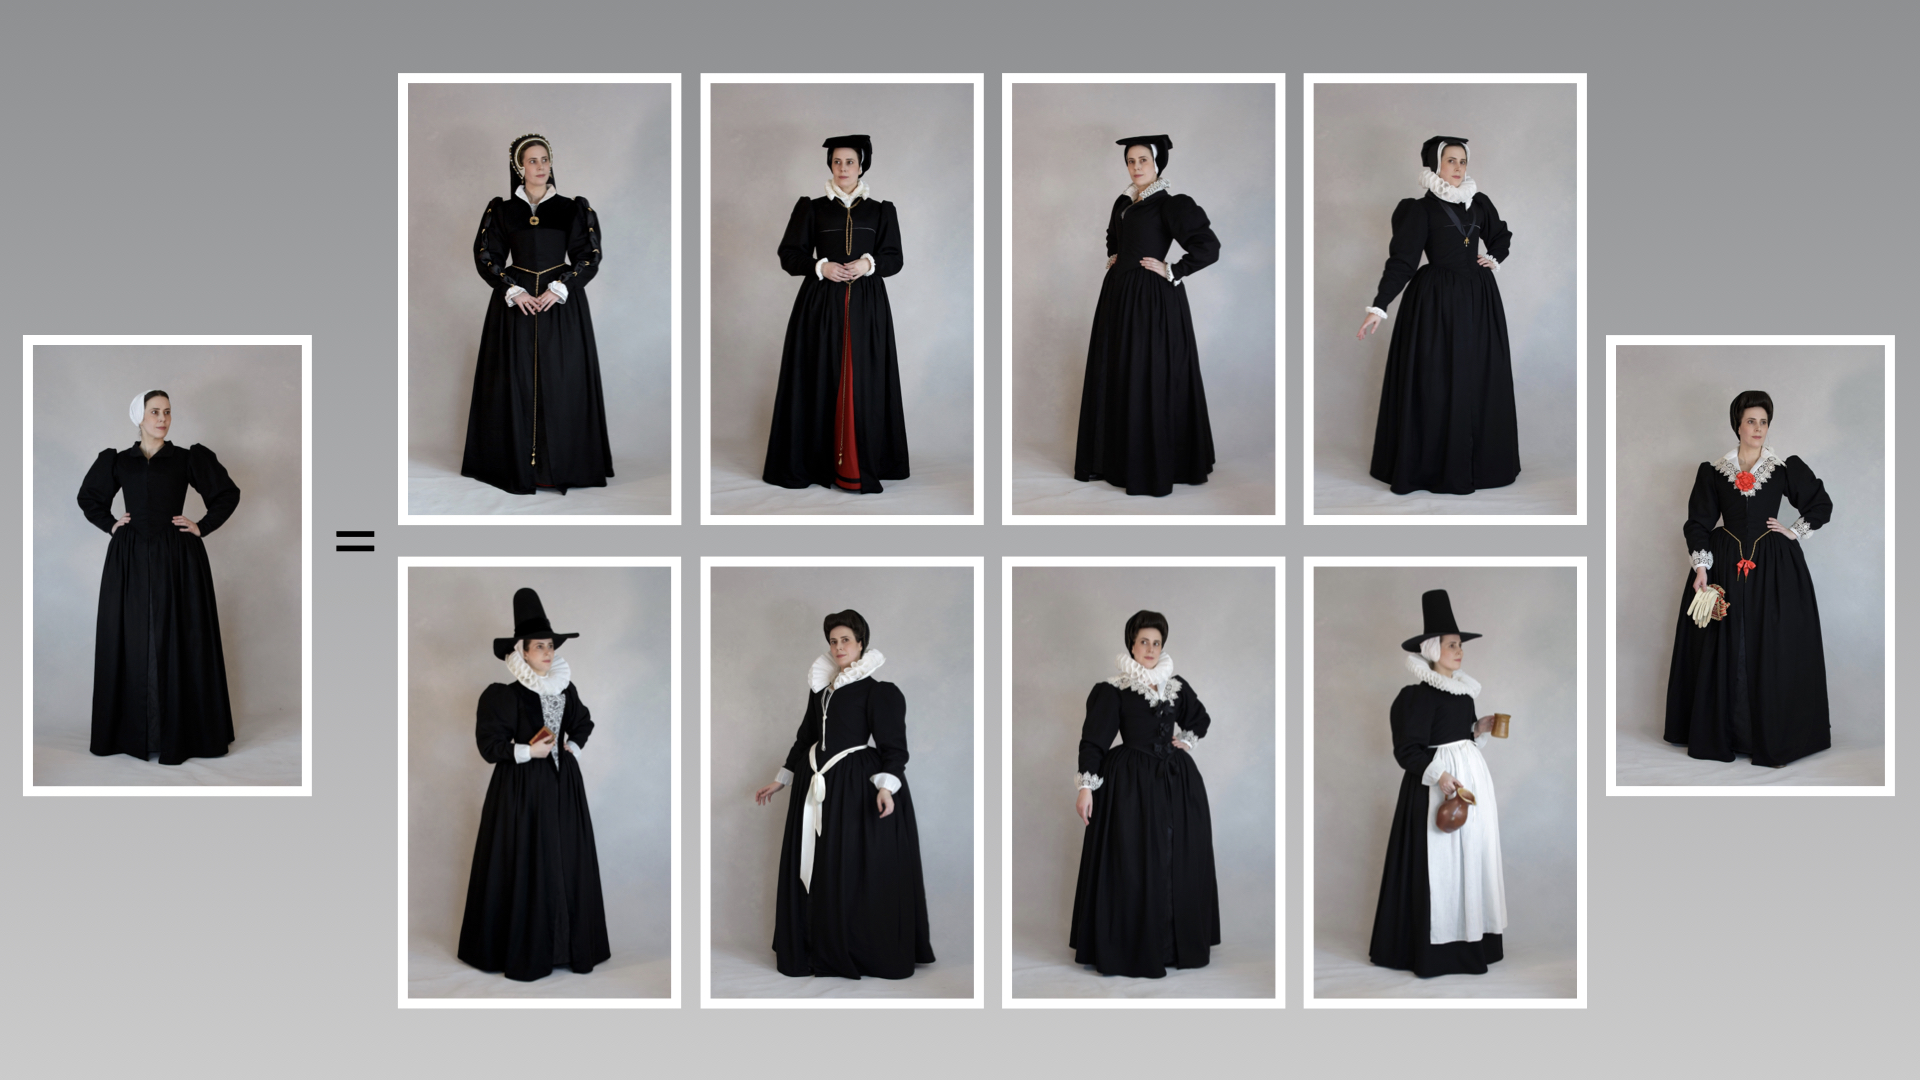
This ruff is another piece that was originally planned for my presentation at the Westcoast Elizabethan Clothing Symposium ("Wearing vs Styling: Accessorizing to Create a Period Look"), which focused on using accessories to build a richer, more period wardrobe.
Specifically, it was meant to feature in Part 3 of my talk, which centered on re-styling the same black fitted gown for different decades (from 1540-1650).
I needed a look to represent the 1610s and my inspiration was this portrait of Hester Crispe (circa 1610-20).

I chose this image primarily because I wanted an excuse to create a large lace ruff, since all the ruffs I had made up to that point had been plain linen.
Looking at Hester more closely, the proportions of her ruff appear to be approximately 50% linen to 50% lace (with an additional row of narrower lace around the collar, on of top of the pleated linen).

It also appears that Hester's ruff is large, but not huge...ending about 2" from her shoulder (which on me would mean a 4 - 4.5" ruff).
However, I wanted something a bit bigger for the mid-1610s...
 |
| Marcus Gheeraerts, 1613 |
 |
| Salomon Mesdach, 1619 |
Looking at the proportions of my previous ruffs, I decide to make this one 5” wide in total. This will include the outer lace.
Meaning, when finished, it will be a tad narrower than my widest ruff (pictured below) which is just over 5. 25".


Next, it's time to choose the lace.
I prep 3 different combinations, all using the Tudor Tailor Schole-House insertion lace as a base:


The first option is probably the closest to my inspiration image, but ultimately I decide to go with the final combination.
The reasoning is practical rather than purely aesthetic: Since I'll be using the pattern of the lace to determine the size of my sets, the fact that repeat is the same on both will make my math a lot easier.
With all the design decisions made, it's time to start construction...
HOWEVER!
At this point the conference is only 2 months away. Which means it will be impossible to finish this ruff in time.
It takes me between 4-6 months to finish a ruff that size. Most of that is hemming the linen; but I'll also need to take two passes to sew two lace strips together, pleat it, and then sew it to a neckband.
The math just doesn't add up.
And so...

And I have one!
Because it turns out that I actually have a ruff in the naughty pile (and it's been there for over 5 years).
Back in late 2018 or early 2019 I had attempted to make a double ruff:

I'm not sure how these are meant to be constructed, but I tried a version with two layers on linen sandwiched together.

(top ruff)
It didn't work.
The finished "ruffs" didn't lay nicely on top of each other (as seen in the portrait above), and instead splayed out and odd angles.

BUT...that does mean I have two layers of lovely hemmed linen!
So the double ruff is taken apart and the two layers stitched end to end, giving me enough linen to to create my lace ruff.

As always, the edges were worked with a narrow rolled hem.
(I know rolled hems aren't really period, but I can do them quickly...which is the only way I can get through this much linen).


And the strips are joined with a 1/8" seam.

The hemmed linen is 3.5" wide and the lace will be just over 3" wide (when the two lace pieces are sewn together). This will give me a total working width of 6.5", which is a nice safe margin.
Which means it's finally time to start construction!
Because of the speed at which I was working, I didn't really document this process very thoroughly.
(But it's basically the same as my first ruff).
First the insertion lace is stitched to the hemmed edge.

(Cat ear for scale)
Then the second lace is sewn on top of the first.

Originally, I had planned to prep 240" of linen (the same as my previous large ruff).
However, because of the repeat of the lace each figure-eight loop will need 6 squares of lace. This means I will either have to round up or round down to get the edges to meet in the front.
For safety, I decide to round up to just under 250".
And so, jumping WAY ahead...the linen strip cut down so that the final width (including lace) is 5.5".
This represents a 5" ruff plus a 1/2" seam allowance for the neckband.
Then the ruff is pleated:


All I have to do now is sew it to a neckband and I'm done...with two weeks to spare!
But something seems wrong.
I can't put my finger on it, but something about the ruff isn't quite working.
The sets are either curling around themselves or stacking up on top of each other, and the lace has a more compressed and narrow feel than I was happy with.
This is especially obvious at the fronts.

I have a sinking feeling that it's too full.
So I debated about whether or not I should cut the ruff down by about 24” (an honestly arbitrary number...I had a seam at that point, and it corresponded to the 6-square pattern established earlier).

But I'm worried that removing any extra length will make matters even worse. The lace is heavy enough that it's collapsing under its own weight, but it also might need a certain amount of volume (and subsequent “squish”) to keep it all standing upright.
I don't want to cut it back and then regret it...to say nothing of ruining a ton of work and expensive lace.
So I do nothing.
Which means, ironically, this ruff is also going on the naughty pile...
It also means that even though I have most of the pieces for the Hester Cripse outfit (mostly) complete, I've missed the window for taking photos and it won't make it into my presentation.

But as it turns out, it was all for the best...
Because at the conference I attended a talk on ruff construction and learned about the benefits of tacking the sets together…something that I had always resisted since it locks the ruff into a certain shape, and I liked having the freedom to change the proportions.
But after hearing that tacking the sets gave them more internal structure and “bounce” I gave it a try…and after a few test sets I was hooked!

(NOTE: The red area above represents the purposed section to cut, and the blue area represents the tacked and starched sets)
The lace formed beautiful, bouncy sets that no longer wanted to collapse!
So I cut roughly 24" out, bringing the final length to approximately 224".
Ironically, this is the exact amount that the Elizabethan Ruff Calculator suggests for a 5" ruff (with a 13.5" neck). Usually I like my ruffs a little fuller than what it calculates, but this time it was bang on.
All the sets are now tacked together and the ruff is sewn to a neckband.

Lastly, a medium scalloped lace (also from the Tudor Tailor) is sewn to the inside edge of the neckband and the ruff is complete!
However, the project isn't done yet...
Because the 24" I cut out of the ruff gave me just enough material for a matching set of cuffs.

I also decide to add the matching scalloped lace to the cuff.
It isn't in the Hester Crispe portrait, but it is something you see on other early 17th century images (especially --though not exclusively-- in the Low Countries):


So the lace is added and the cuffs completed!


And with that, the lace ruff project is finally finished!

Usually, I wouldn't do such a full write-up for a type of garment I've made (and documented) previously.
But as costumers we tend to only highlight our successes, and I thought it was worth noting that this project stalled multiple times...and actually rose from the ashes of an older project that had failed altogether.
Aesthetically, I'm really happy with the final result. But I've yet to "test drive" it, and so only time will tell if it was ultimately a success.
Who knows? Maybe it will be remade into something else in five years, and the Circle of Life will continue...
***
Resources & Materials
Fabric:
-White linen (2.8oz) from WM Booth Draper
Trim and Notions:
-Lace from The Tudor Tailor
Thread:
-White cotton thread (silk finish)